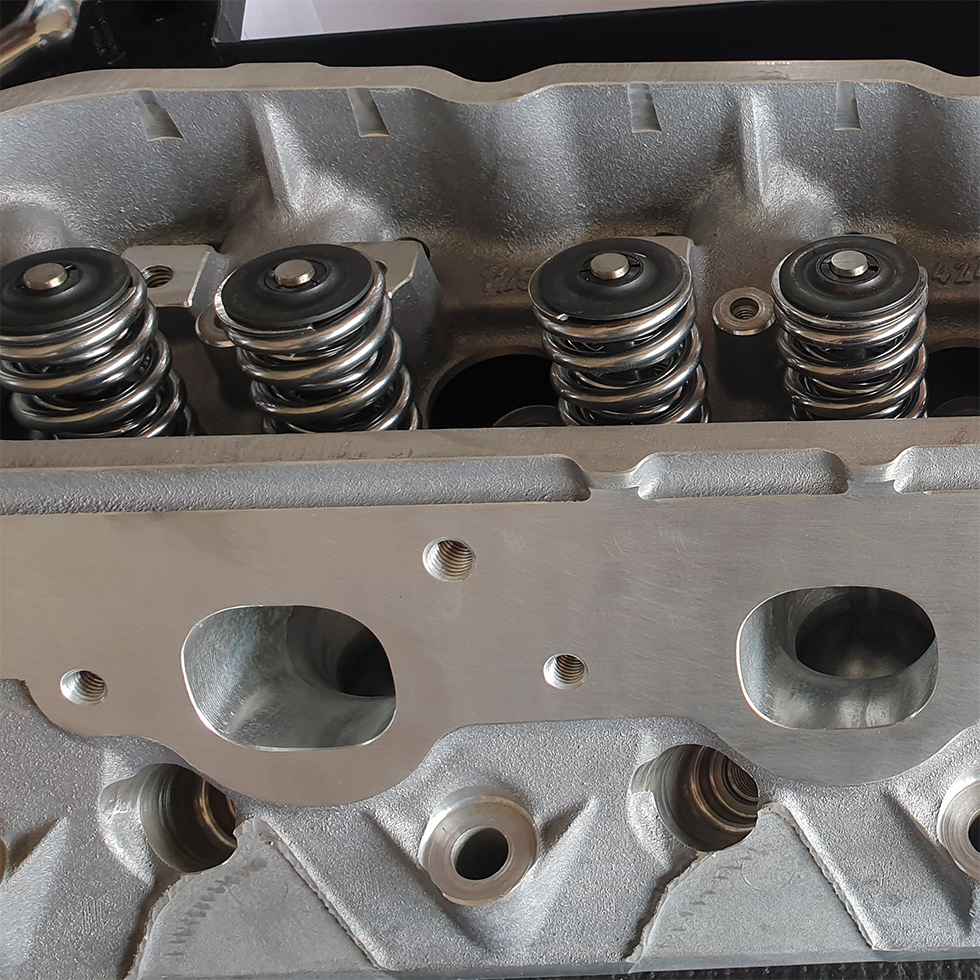
Valve Spring Install | Simple DIY Guide
7th Mar 2020
So you've made the big decision on your camshaft package & found what will work best for you.
Now it's time to tackle the install. Reality is, with the right amount of knowledge & correct tools a camshaft package install can be done quite easily over the weekend in the garage.

When it comes time to do the valve spring install following these simple steps will make the job a breeze.
Valve springs can be swapped either with the cylinder heads still on the motor OR on the bench if the heads have been removed.
Tip: ensure if you are doing the install on the motor you have a pneumatic valve holder to prevent the valves from dropping when the spring is removed.
A couple of handy tools to have ready are the following:
Valve Spring Compressor Tool
Try to avoid the claw type especially with dual springs as they can be a nightmare.
Valve Seal Install Tool
Designed to press the valve stem seal on without excess force or risk of damaging the seal
And if doing the swap on the car, a pneumatic valve holder (as above).
We completed the install on a set of freshly CNC ported LS1 cylinder heads courtesy of Higgins Race Heads & a set of our Brian Tooley Racing BTR Platinum .660" lift Dual Valve Springs.
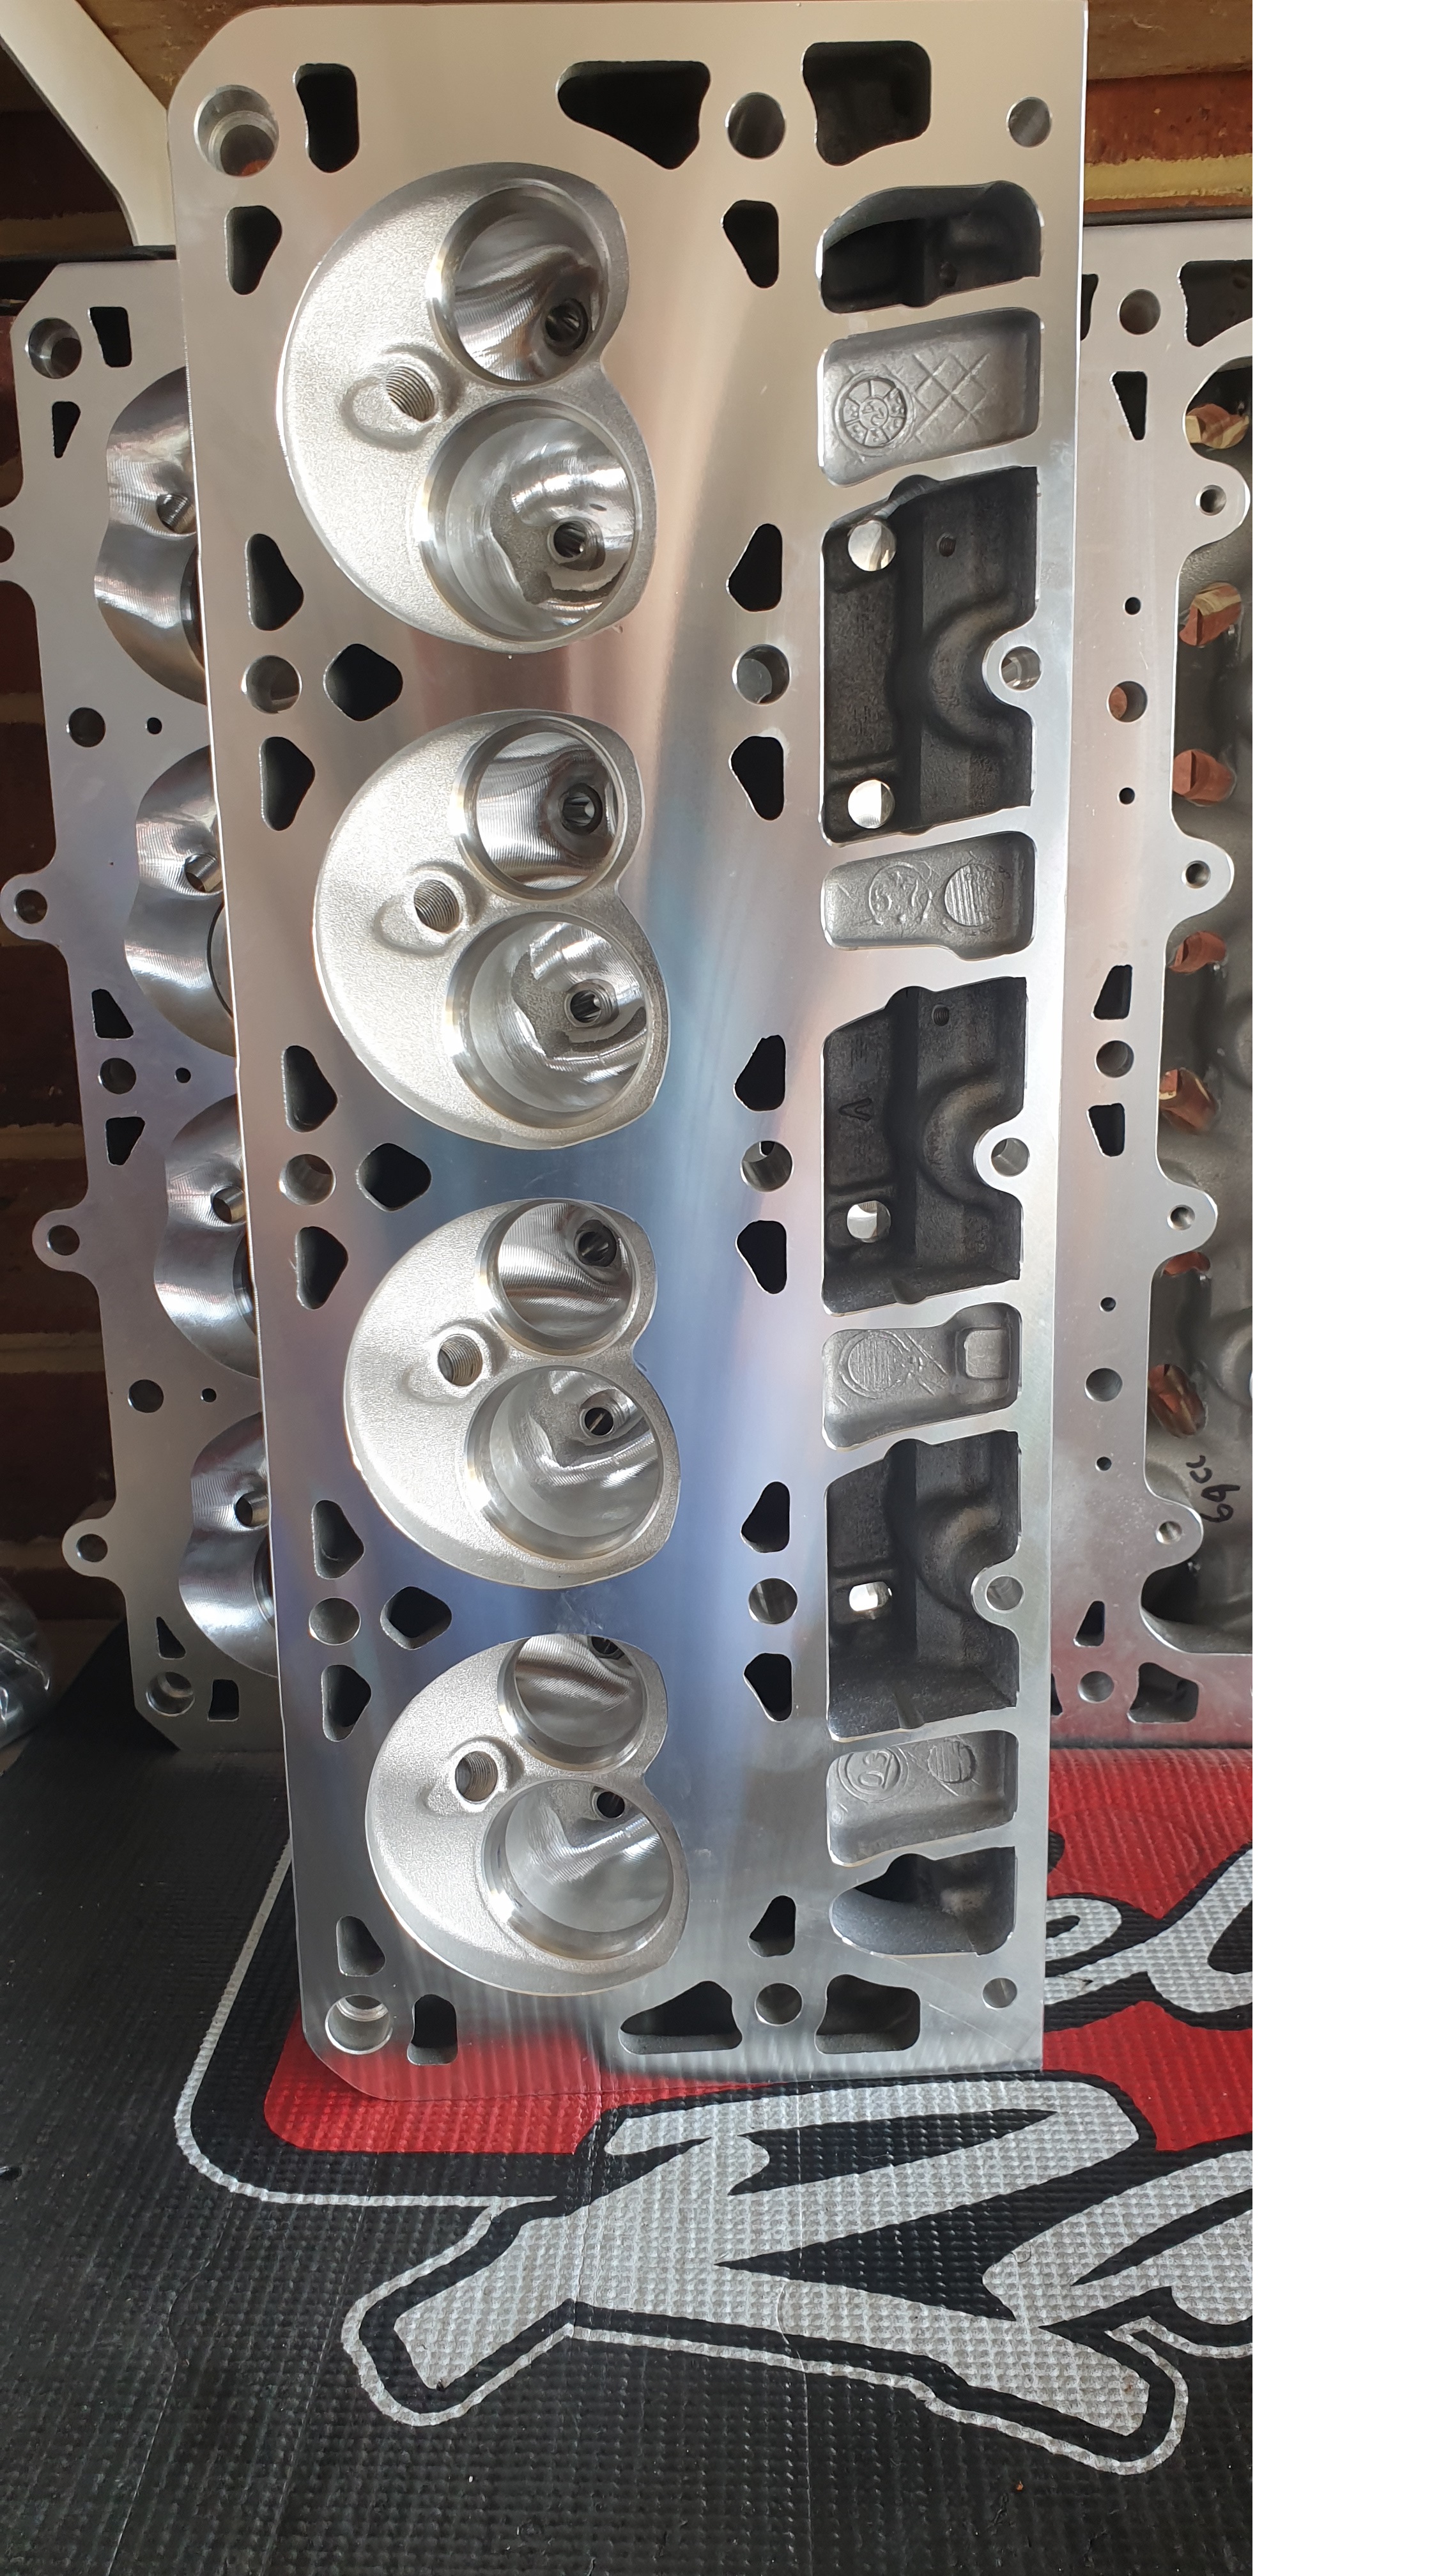
We prepared the heads by cleaning the surfaces, lubricating the valve stems & installing the valves.
The heads are then placed on a soft clean surface to ensure the decks or valves aren't damaged during assembly.
Tip: when placing the heads down with the valves installed be careful not to damage the valve stem if they attempt to slide out on the way down.
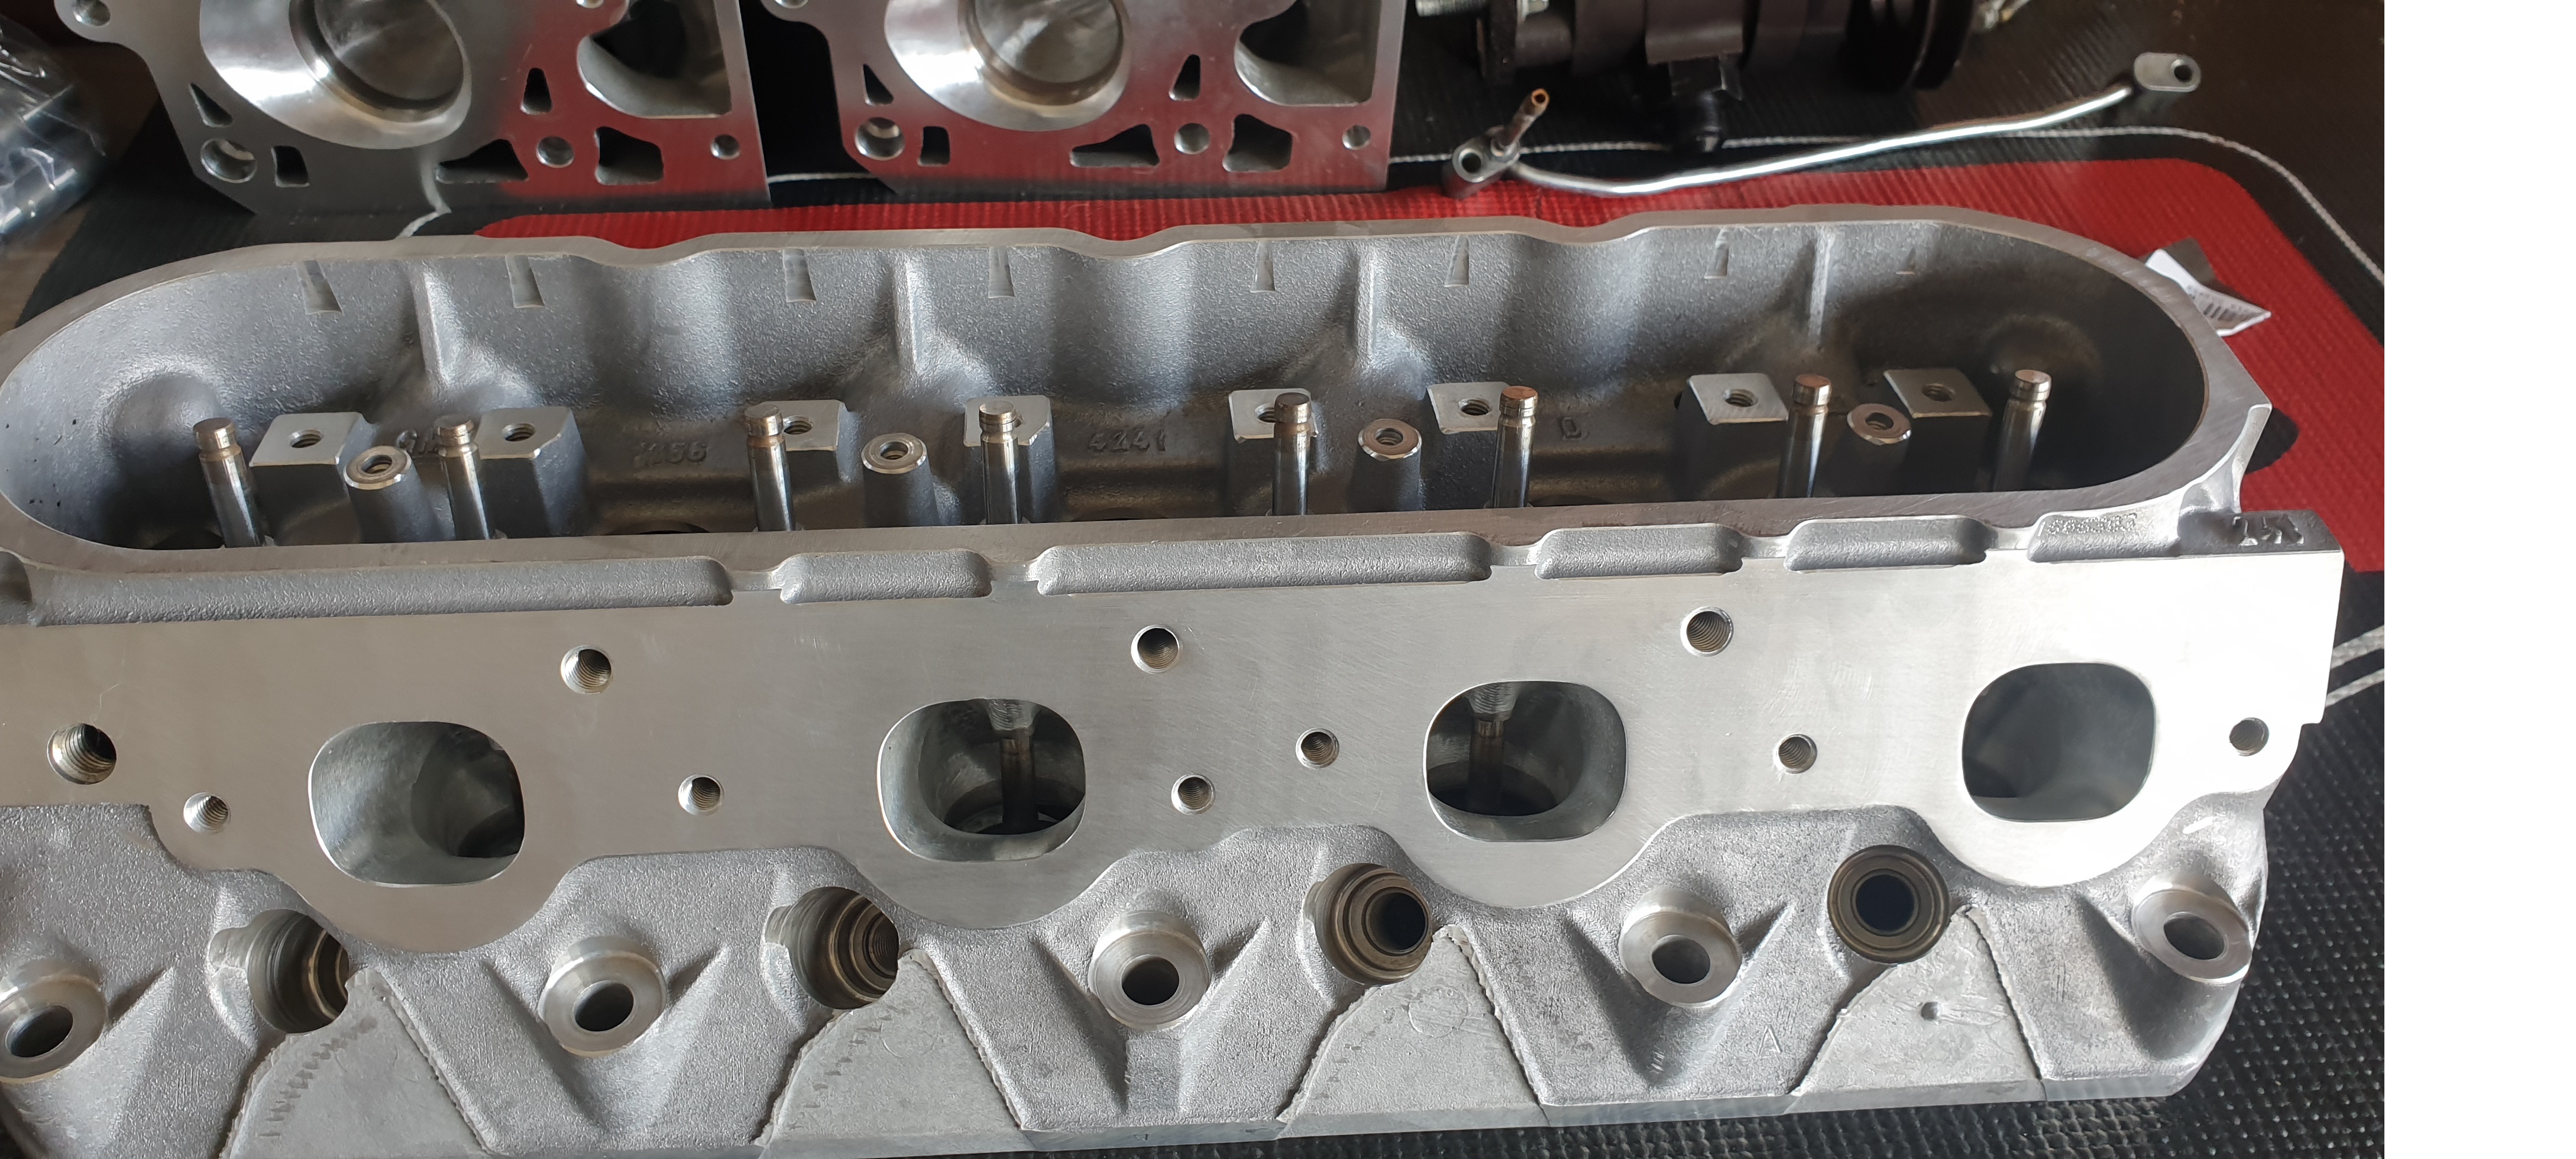
The BTR Kit includes all the necessary parts required to install the springs so all of the old springs, locks, retainers & seals can be thrown away.
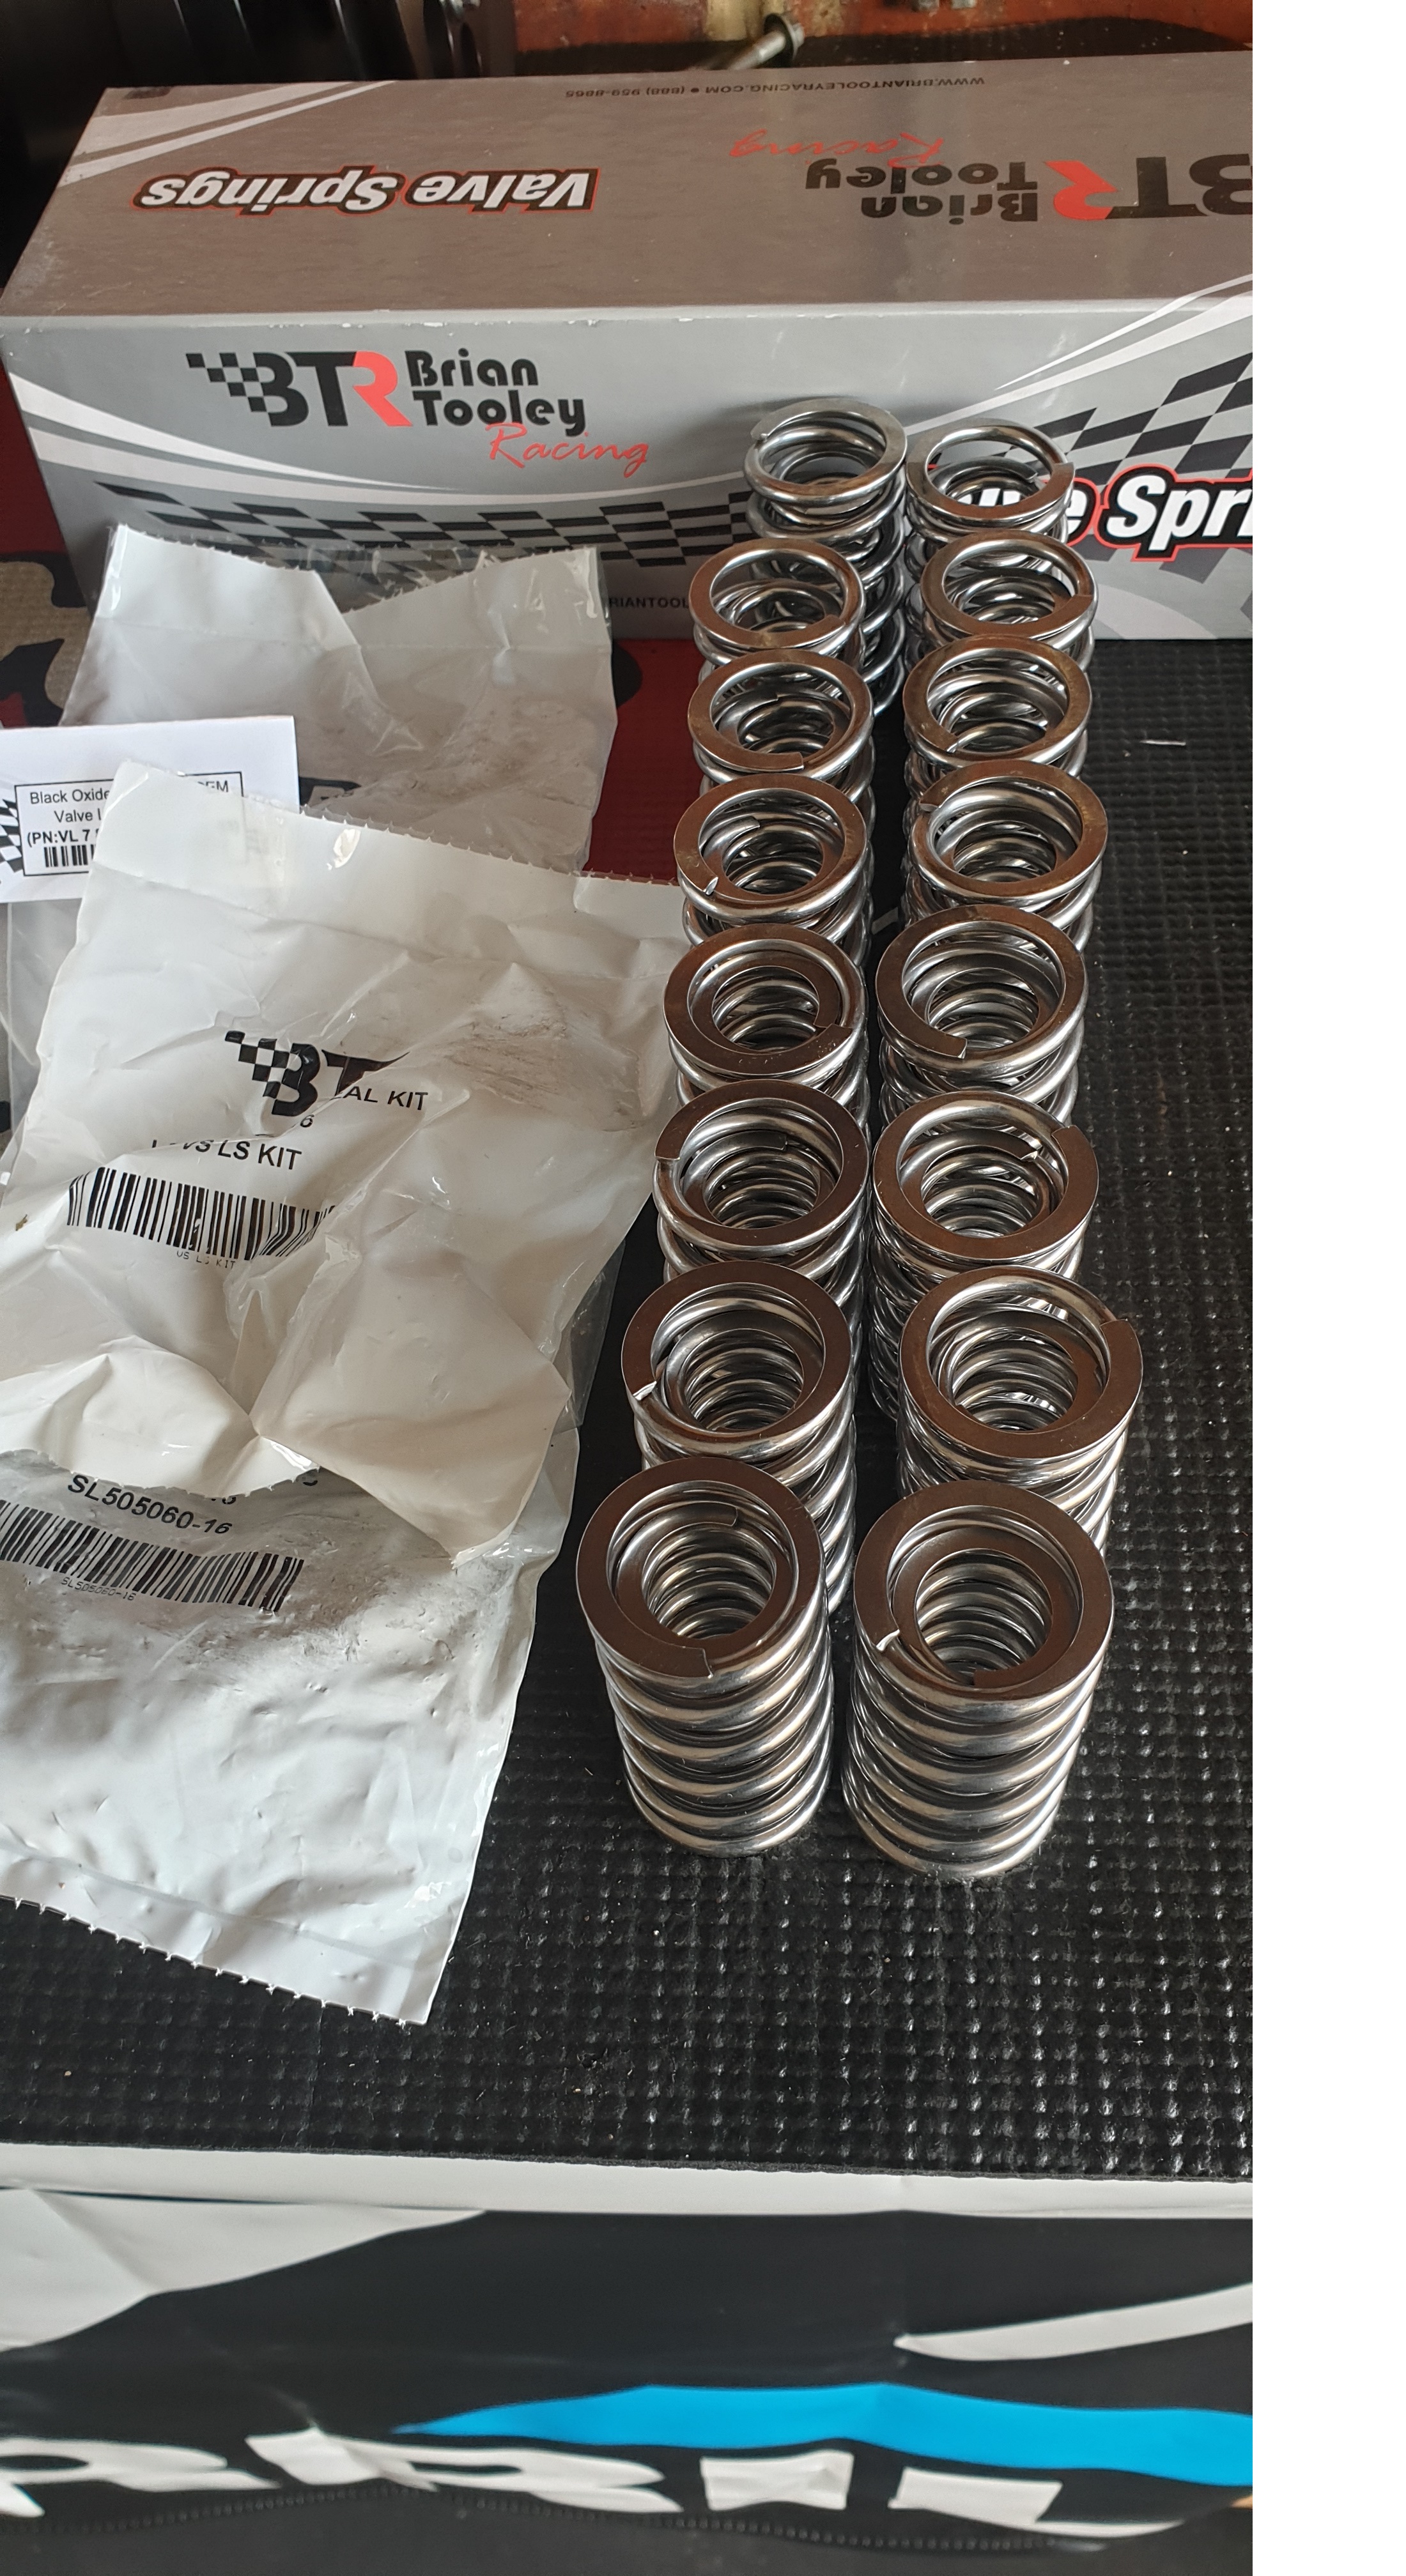
The first step is installing the locators. The valve spring sits directly in these locating them in place. (hence the name!)
Now it is time to install the valve seals. The valve seals slide carefully over the valve guide & once installed you will feel it will lightly hold the valve up.
Be careful when installing these as damage to the valve seal means the car will turn into puffing billy on start up.
This is why the valve seal install tool is handy. (see below)
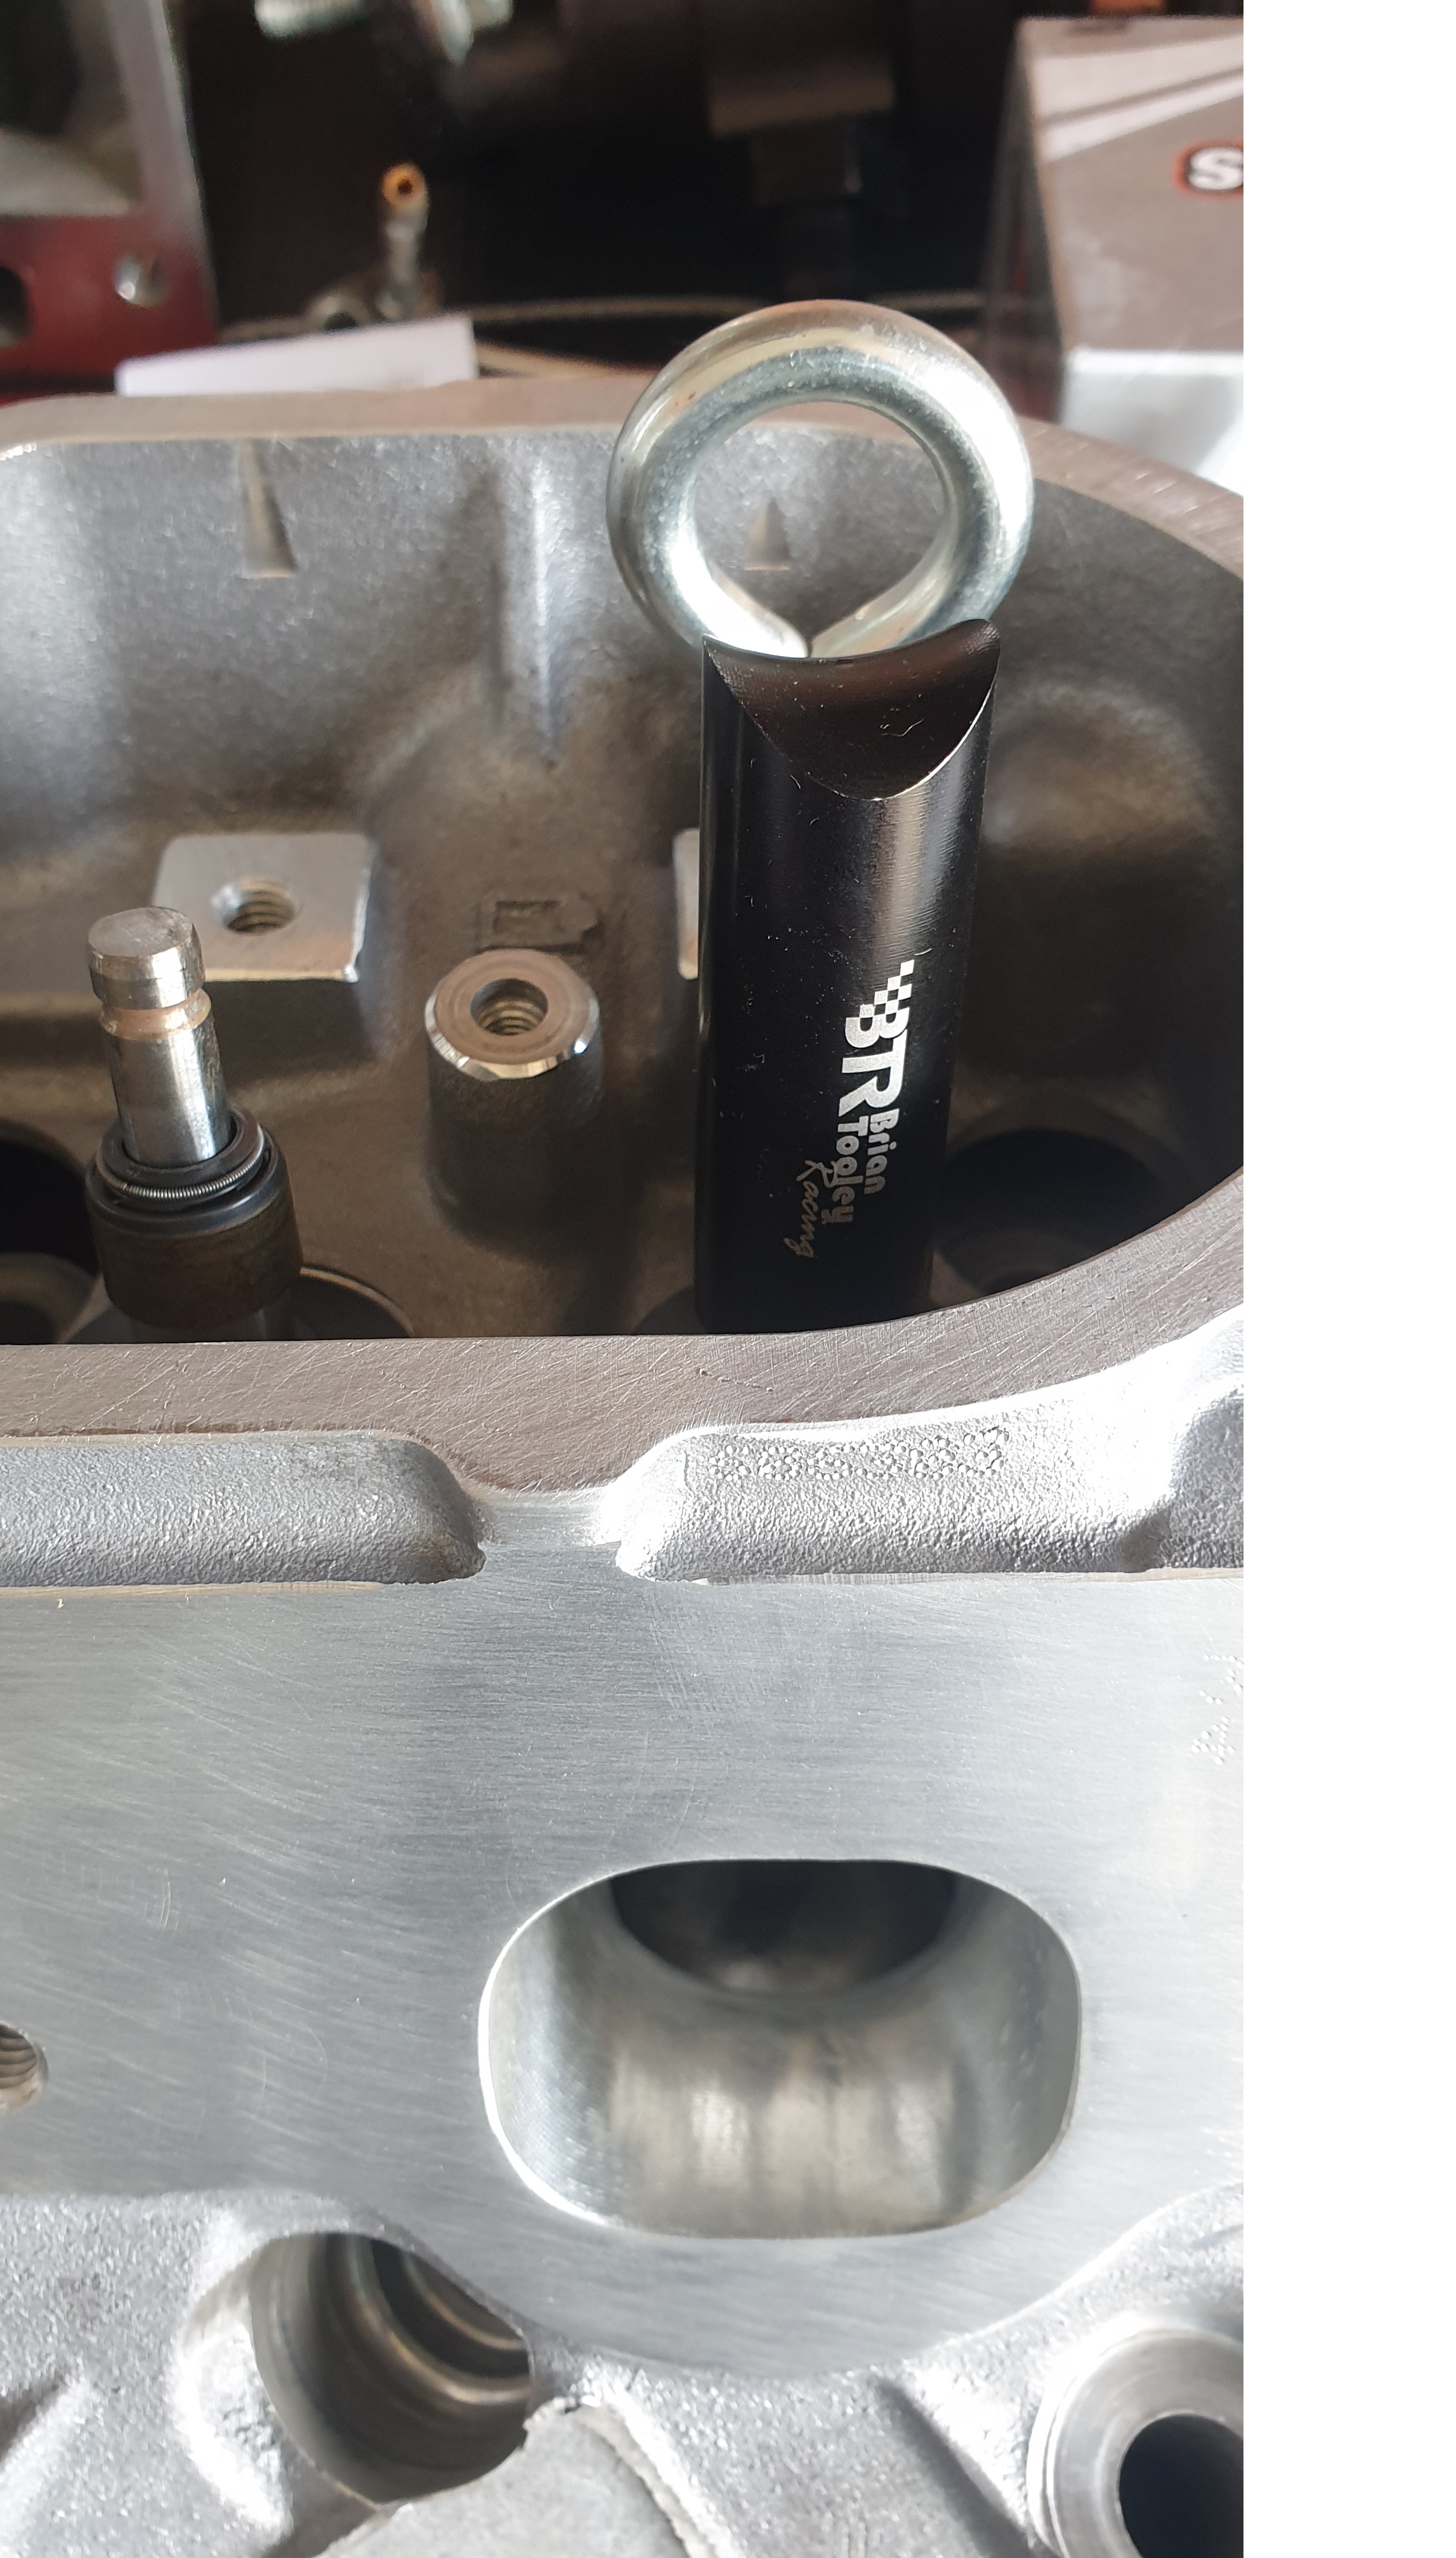
Although some people out there have been known to slide a socket over the seals and lightly hammer them on, this can risk tearing the top of the seal. This simple tool threads one part into the rocker hole, then the other slides over the seal. you simply feed a 3/8" extension bar through the loop and lightly press down to locate the seal in correctly.
Note: excessive force is not required.
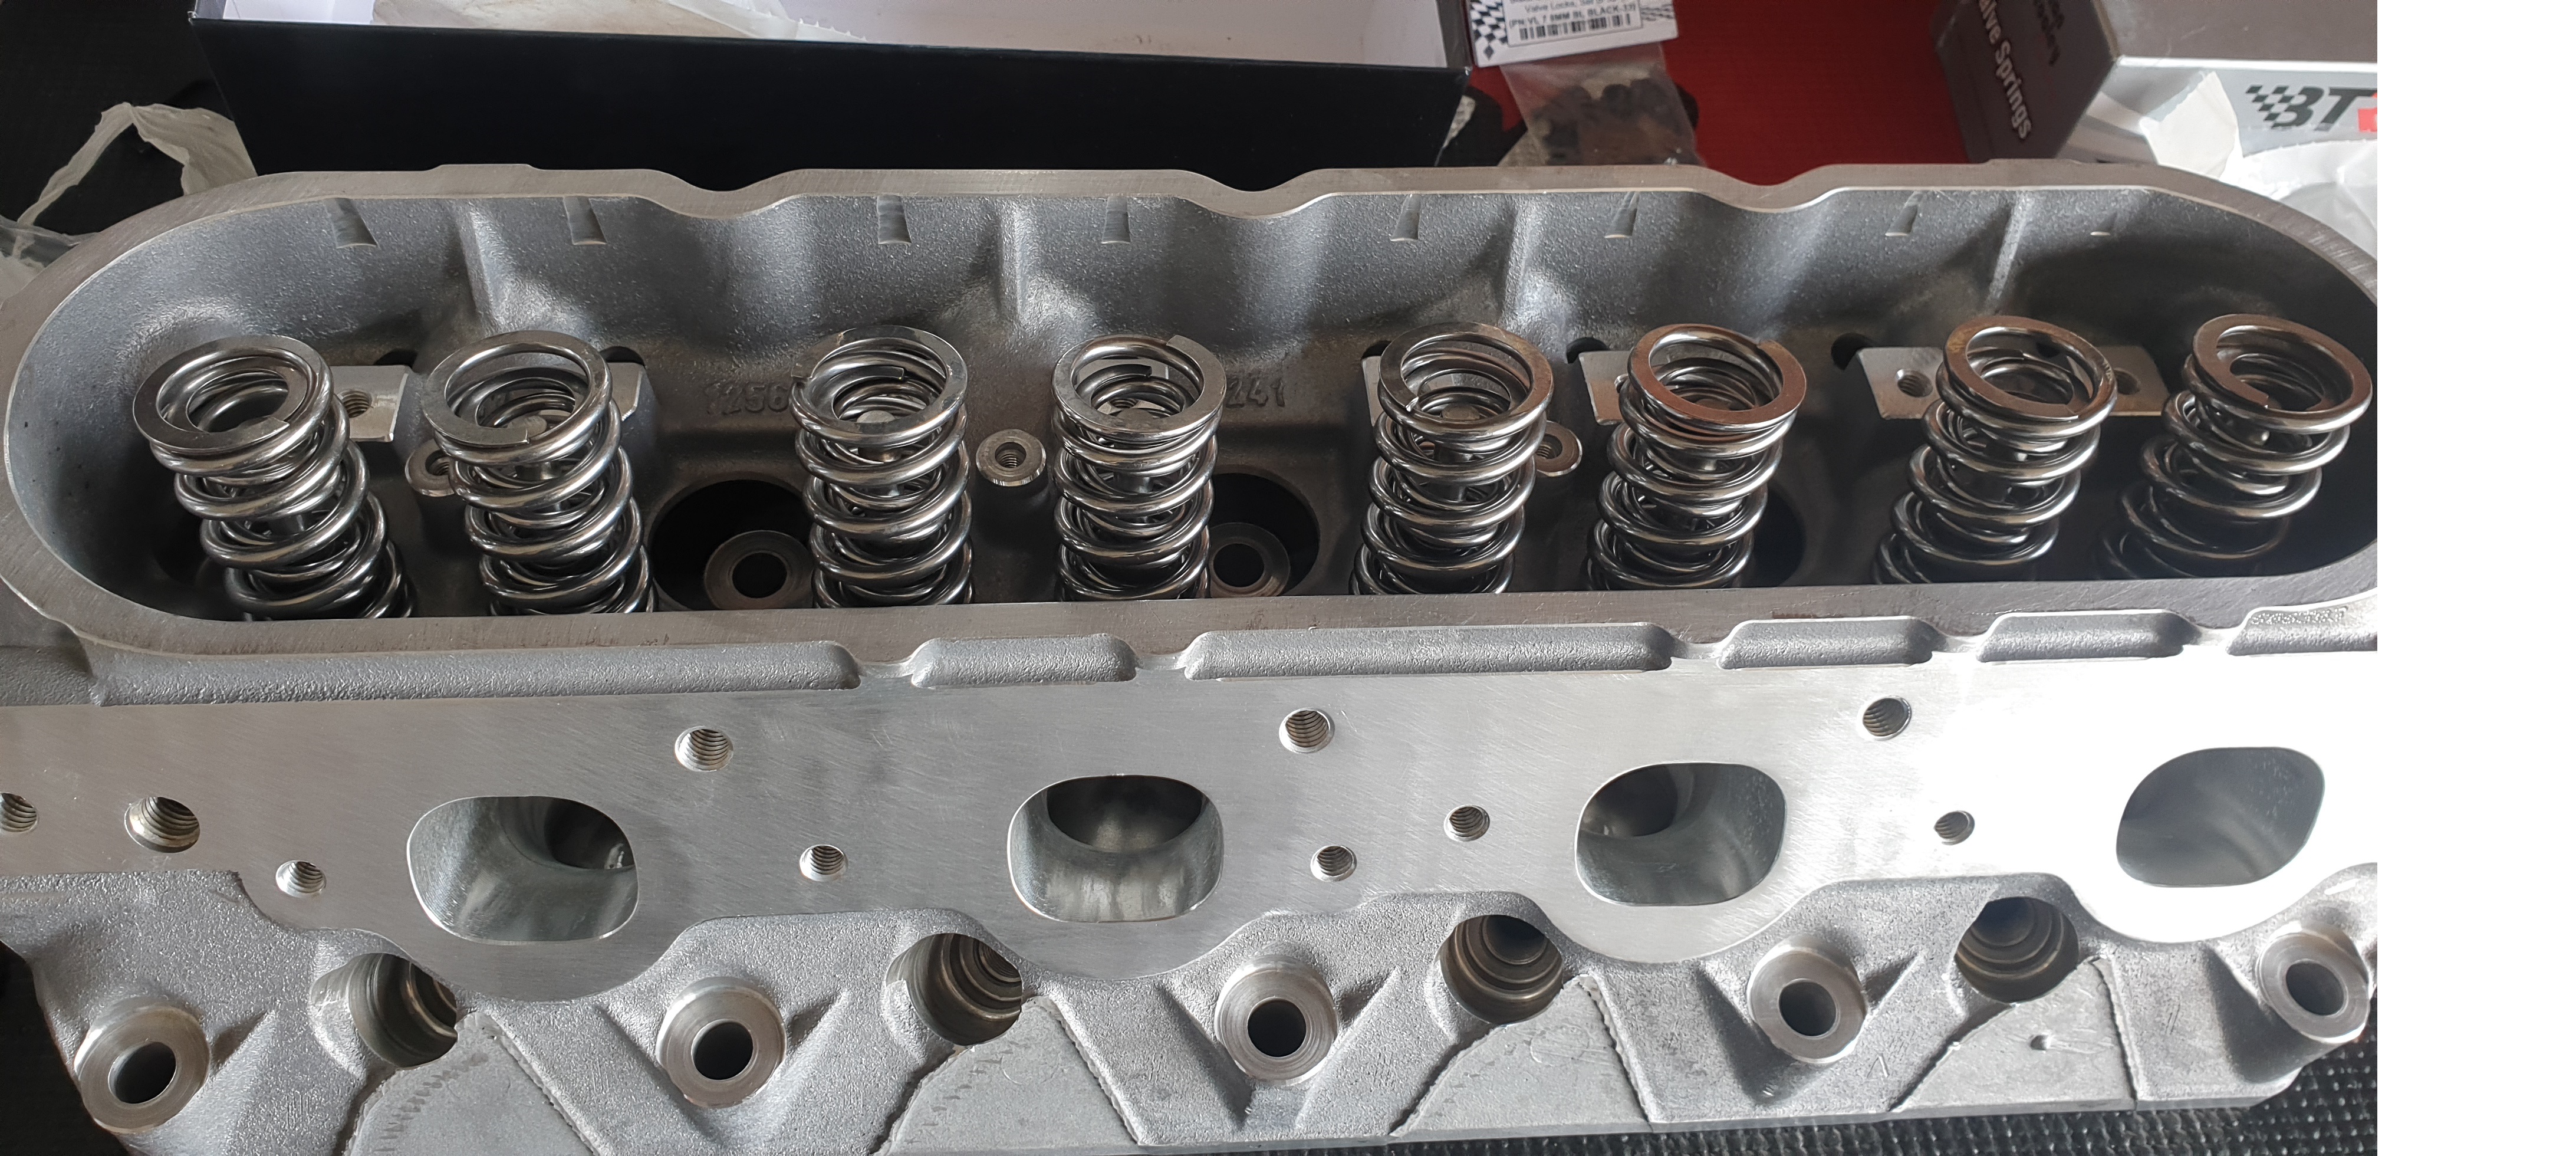
Now place the dual springs onto the locators along with the retainers on top of the springs.
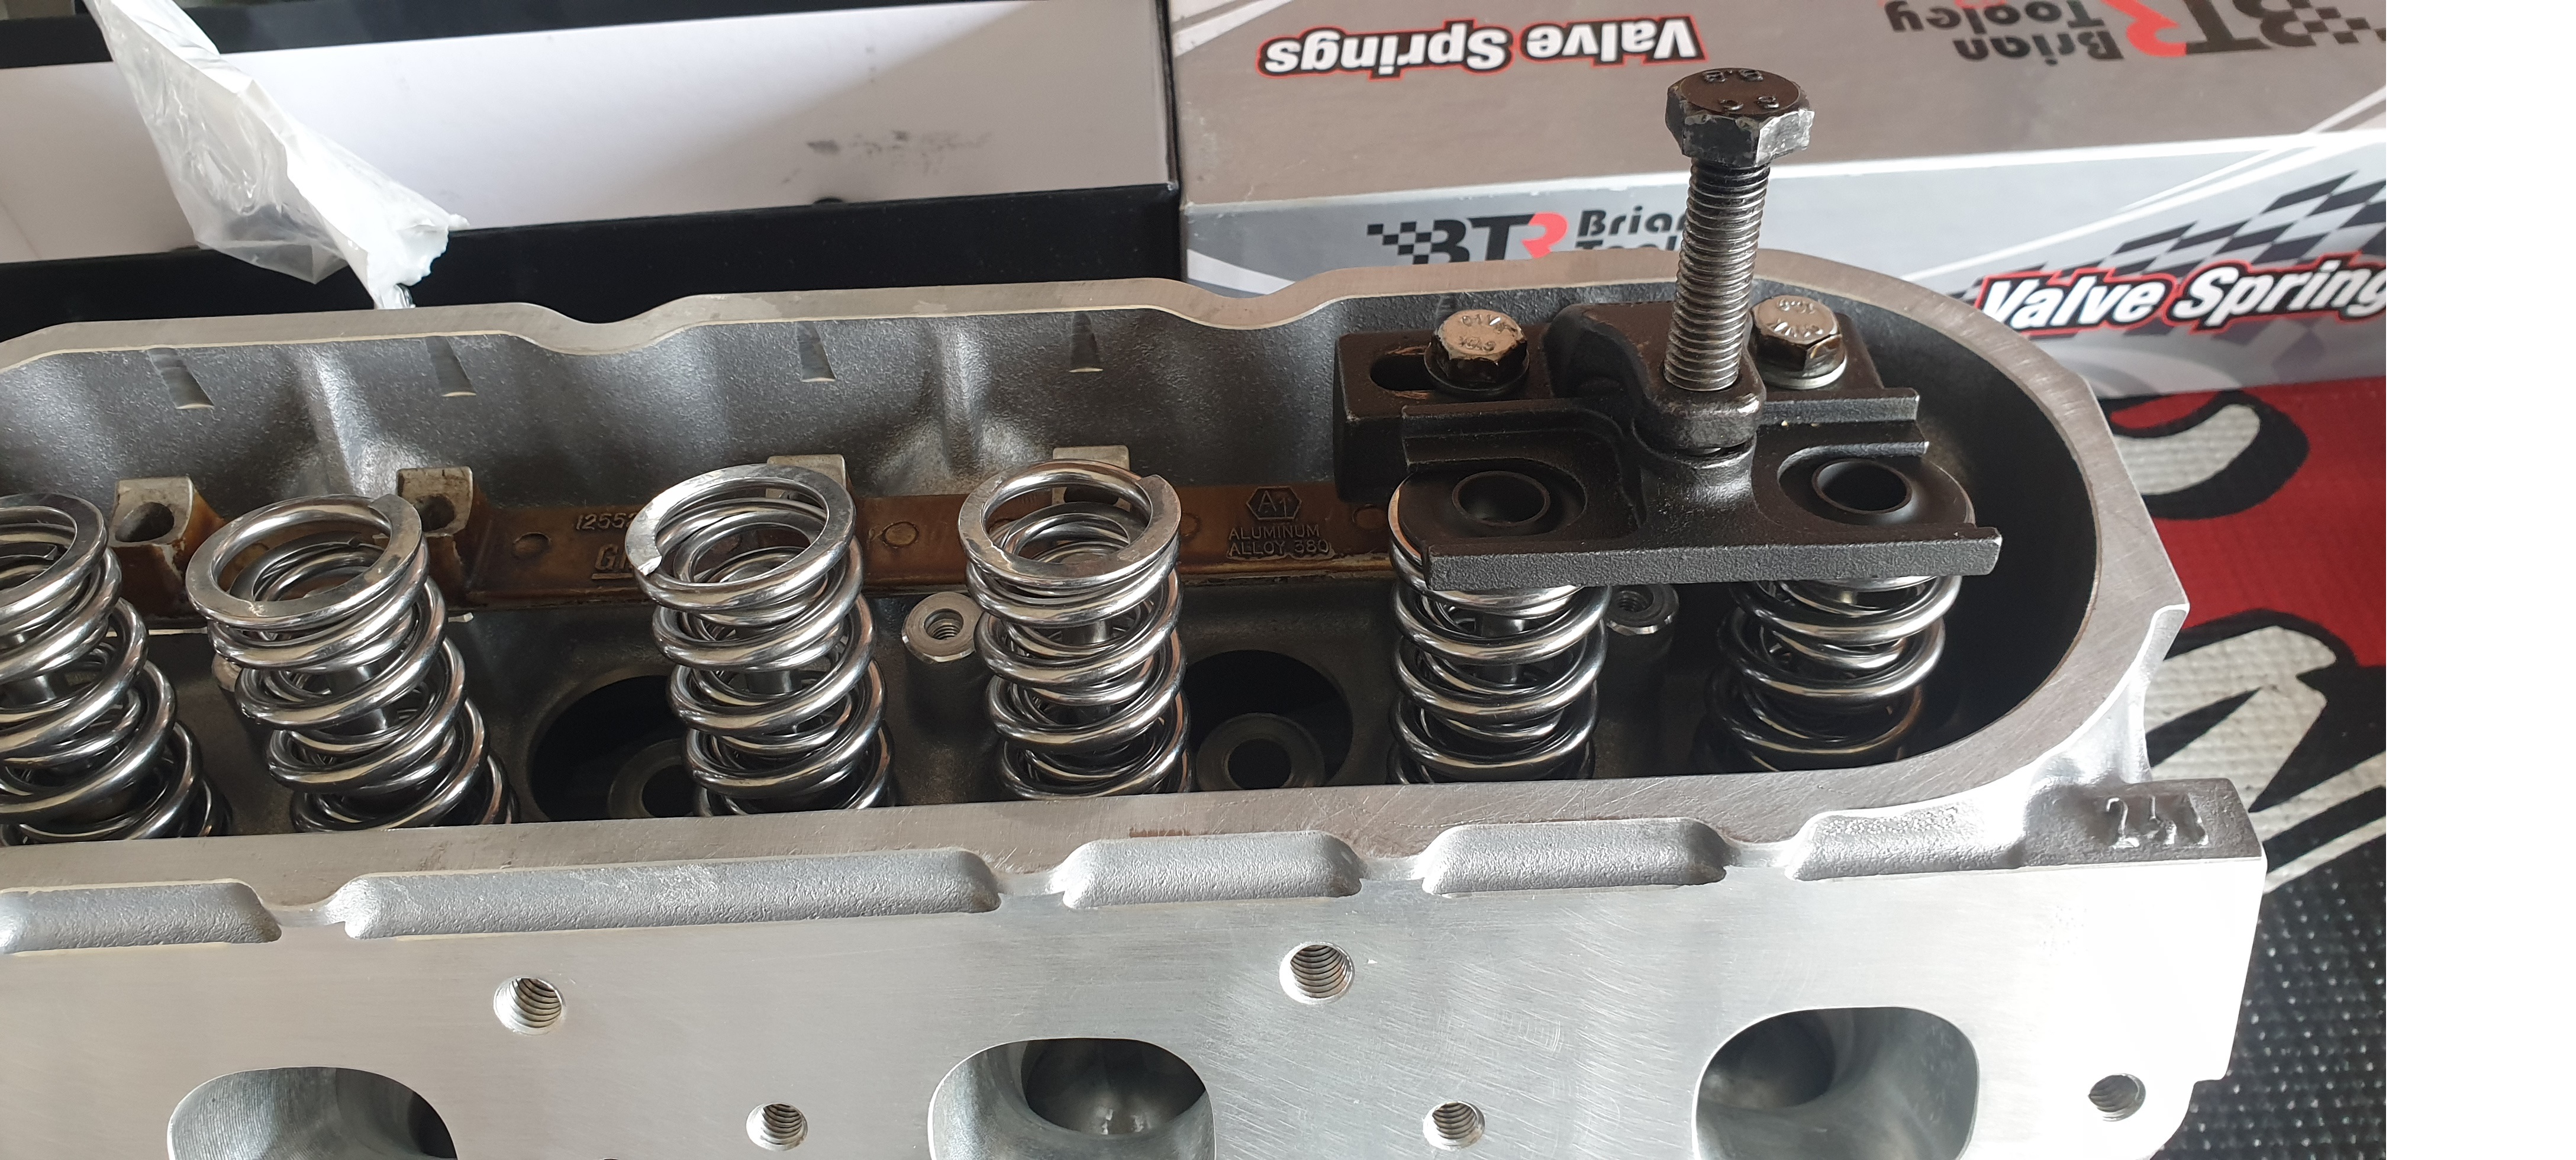
This is where the Valve spring compressor tool comes into play. We used our Dual Spring Compressor which allows you to install 2x springs at a time.
The claw type or lever types do one at a time.
The Dual spring compressor is also a two piece tool which bolts into the rocker holes and the top plate sits on the top of the retainers. once the spring compressor is mounted into the rocker stand and the bolts are tight you can begin tightening the top bolt which will compress the spring. The springs simply need to be compressed enough to allow the supplied BTR machined locks to lock into place.
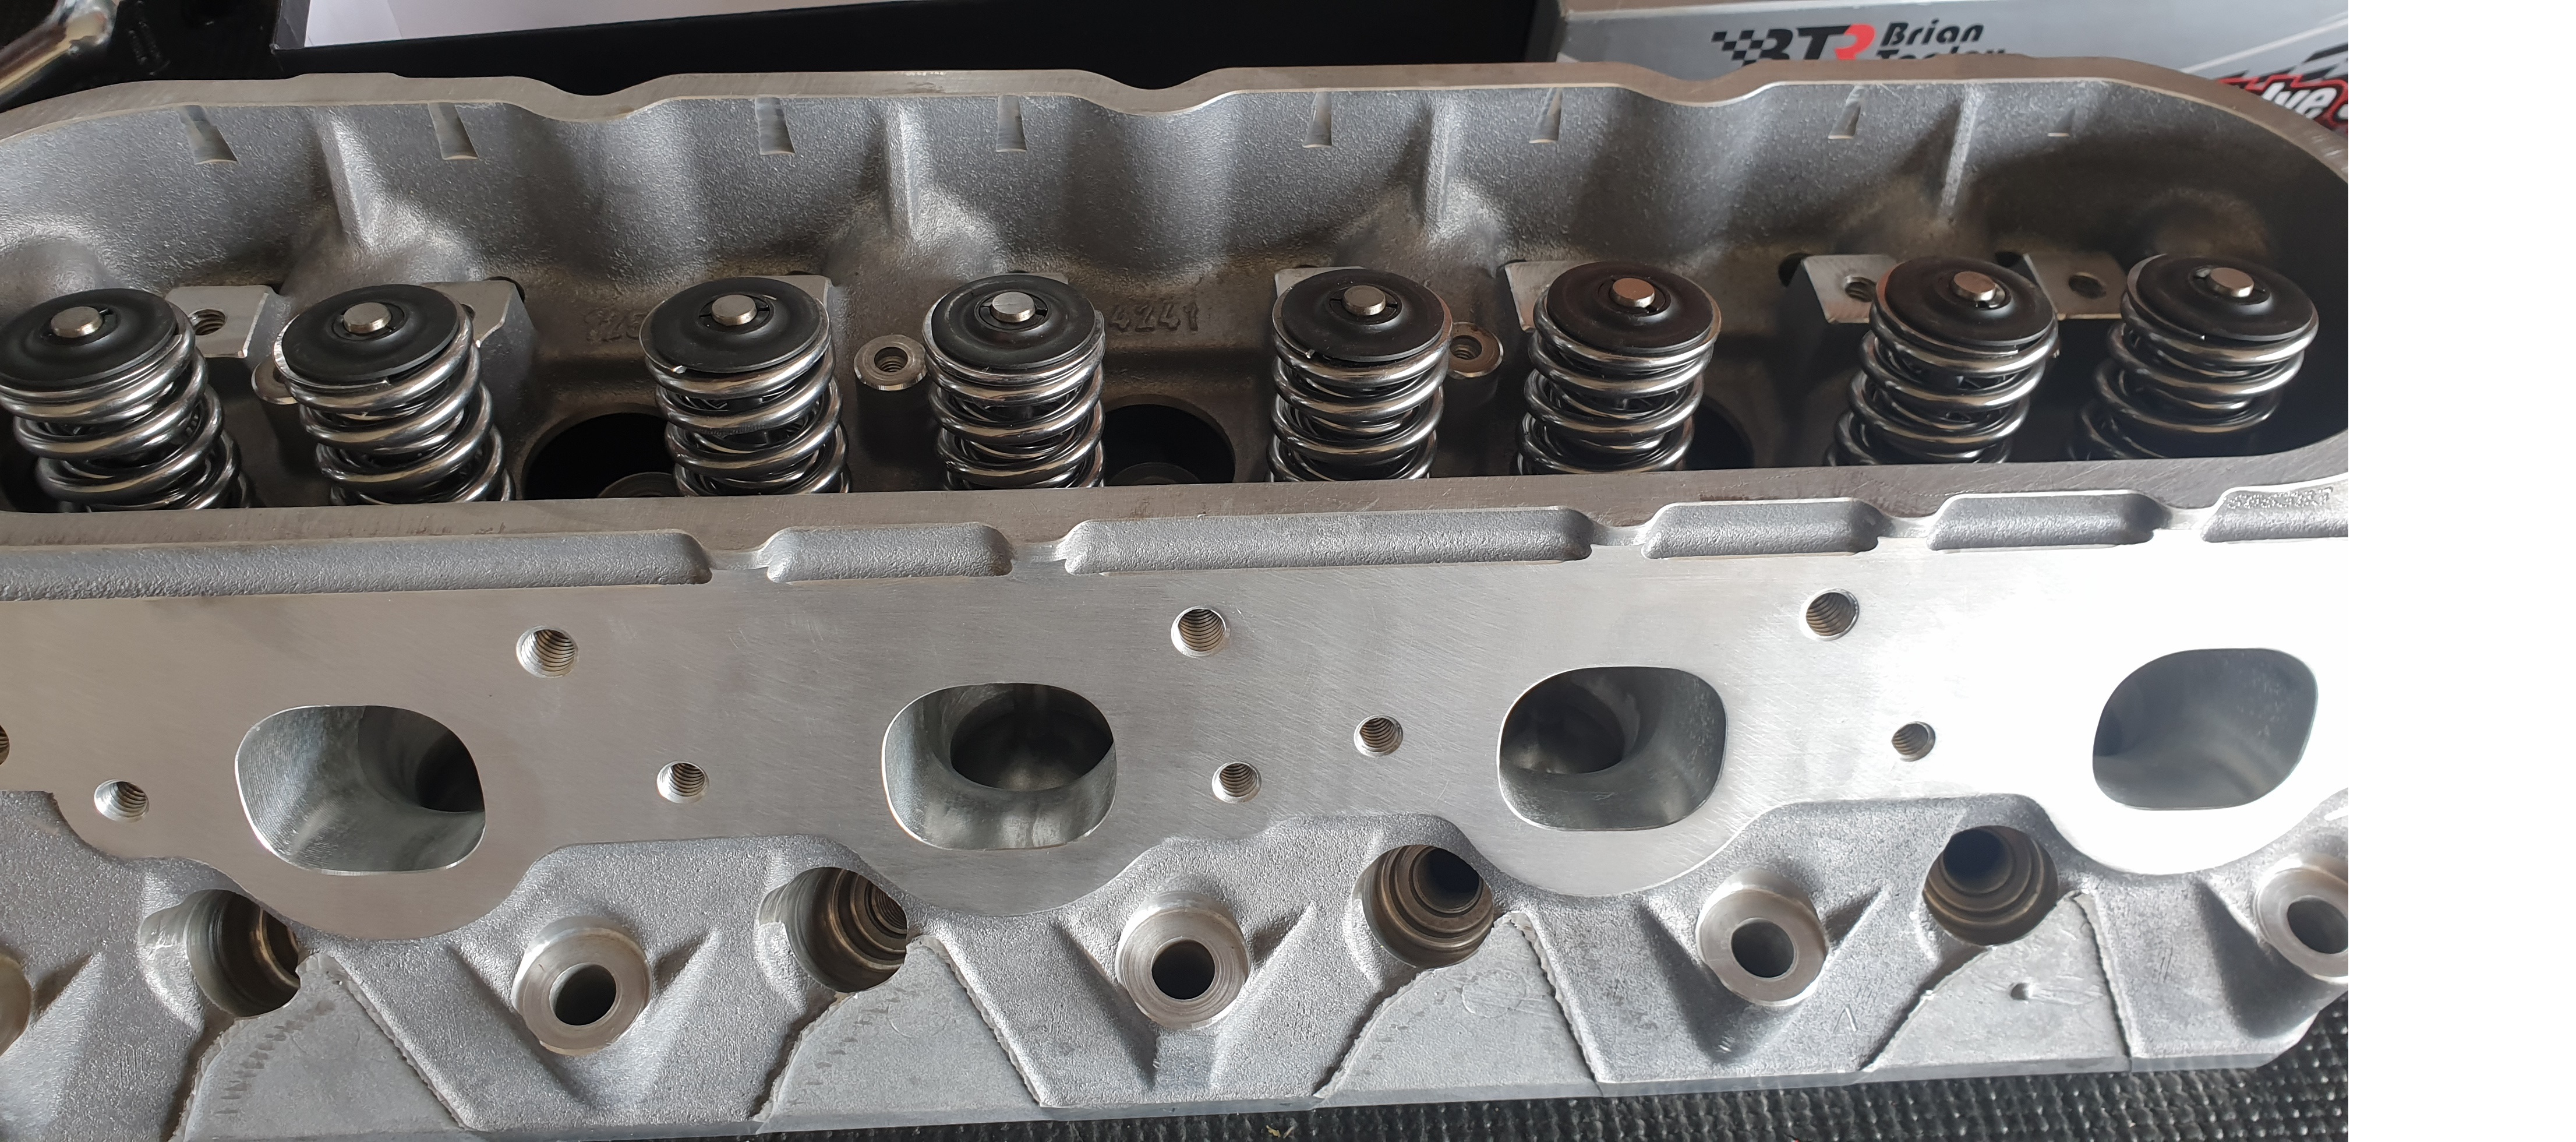
The locks are tapered and will only install one way. The narrow end points down towards the cylinder head to allow the retainers to lock in once you start to loosen the compressor bolt.
Pay close attention to the locks during this stage to ensure they seat properly as you loosen off the bolt.
Once this is complete you are ready to move onto the next seven cylinders.
This is quite a simple job which should take around 20 mins if done with care.
Allow a little longer on the car due to less room to move.
You can purchase the tools required when purchasing your camshaft package, dual spring kit or separately here.
Time to get in that garage and tackle the install. Don't forget to let us know what you're working on!

